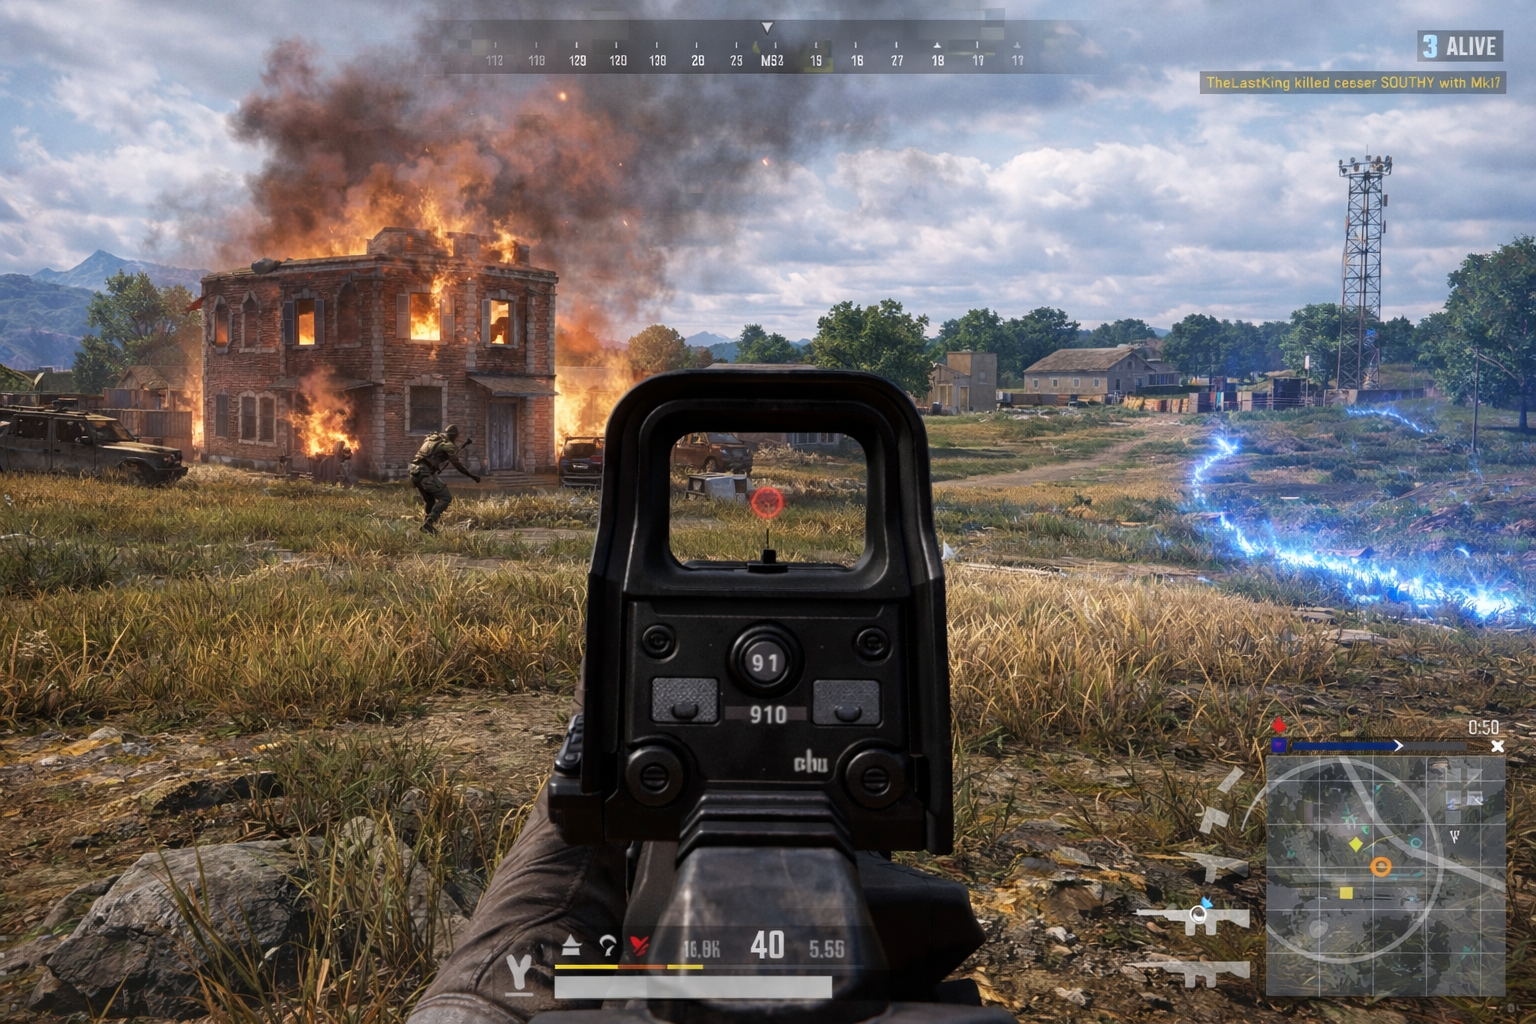
In PUBG: Battlegrounds, sniper rifles are not just weapons — they are psychological tools. A well-positioned sniper can freeze rotations, break squad momentum, and control entire sightlines without firing more than a few shots. Unlike close-range gunfights that reward reflexes, sniping rewards foresight. Positioning determines whether you dictate engagements or become an easy counter-push. Players who consistently win long-range duels understand that elevation, terrain flow, and circle timing matter far more than raw aim. A great sniper doesn’t chase kills; they build angles that force opponents into predictable movement.
Sniping in PUBG is also about patience and information control. Every time you reveal your position, you trade surprise for pressure. Skilled players minimize that trade by selecting spots that offer multiple escape routes and natural cover. The goal isn’t simply to “find high ground,” but to claim space that allows visibility without vulnerability. Terrain in PUBG — from Erangel’s rolling hills to Miramar’s ridgelines — rewards players who treat positioning like chess rather than checkers. A sniper who survives multiple circles from strong angles often becomes the late-game difference maker.
Understanding Terrain and Elevation Control
Elevation remains one of the most powerful advantages in PUBG because it manipulates visibility and bullet trajectory simultaneously. When positioned above opponents, recoil compensation becomes easier and enemies expose more of their body while peeking upward. However, high ground only works when it provides concealment. Hilltops with sparse cover can quickly become death traps once multiple teams identify your silhouette against the skyline. Smart snipers position slightly below the peak — a concept often called “milking the ridge” — allowing them to peek with minimal exposure while maintaining full downward visibility.
Terrain variety across maps also changes how elevation should be used. On Erangel, tree density and soft hills allow subtle repositioning after each shot, reducing predictability. Miramar’s rocky cliffs offer stronger hard cover but limit escape angles. On Vikendi, snow contrast can expose movement instantly, making positioning discipline even more critical. Instead of prioritizing height blindly, experienced players prioritize layered cover: a ridge for primary shots, a rock for fallback, and a vehicle or smoke line for emergency disengagement. Elevation is strongest when it supports mobility, not when it traps you.
Line of Sight and Rotation Awareness
Sniper positioning is deeply connected to understanding rotation paths. Most players rotate along natural terrain corridors — valleys, road bends, compound edges, and circle borders. Strong sniper positions overlook these predictable lanes without sitting directly in the center of them. If you’re visible from multiple 360-degree angles, you’re not controlling sightlines — you’re gambling. The ideal sniper angle narrows incoming threats while widening outgoing vision. This allows you to monitor movement patterns while reducing the chances of being third-partied.
Circle timing also shapes line of sight value. Early game sniping from high compounds can gather picks, but late-game circles demand flexibility. If your position becomes central in a shrinking zone, you risk becoming the target of converging squads. Experienced snipers often play edge zones instead of center zones. By hugging the safe zone’s edge, they minimize rear threats and focus forward. This strategy increases predictability of enemy movement and reduces flank exposure, especially during Phase 4 and beyond when rotations become desperate and rushed.
Common Positioning Mistakes to Avoid
-
Sitting directly on ridgelines, exposing your full silhouette against the sky.
-
Remaining stationary after multiple shots, allowing enemies to triangulate your position.
-
Sniping from the same window repeatedly inside compounds.
-
Ignoring flank routes while tunnel-visioning one squad.
-
Choosing high ground without a safe retreat path.
Using Buildings, Ridges, and Natural Cover Effectively
Buildings offer powerful sniper nests, but only when used intelligently. Windows create controlled sightlines, yet they also frame you as a predictable target. Smart players avoid standing directly in open windows and instead step back to obscure their outline. Shooting from deeper angles inside rooms reduces the chance of immediate headshot trades. Additionally, alternating between multiple windows prevents enemies from pre-aiming your position. In multi-story structures, rooftop access should be used sparingly, as rooflines expose your movement to distant observers.
Ridges and rocks remain the most flexible sniper platforms in open terrain. The key lies in micro-adjustments. After firing a shot, shifting slightly left or right can disrupt enemy counter-aim. Even small elevation changes behind rocks reduce exposure dramatically. Vegetation, while not fully bulletproof, helps break visual clarity at long distances. Skilled snipers blend hard cover with soft cover, using bushes and terrain dips to reposition quietly. The less predictable your reappearance, the stronger your psychological pressure becomes on opponents attempting to challenge your angle.
Sniping in Squad vs Solo Modes
In solo matches, sniper positioning is about survival and isolation. Every engagement is a direct risk, so choosing angles that prevent third-party interference is critical. Solo snipers often prioritize quieter outskirts and edge circles, minimizing chaos. Patience defines solo long-range play; sometimes holding fire preserves positional advantage better than confirming a single knock. Since there’s no teammate to revive you, escape planning becomes equally important as aiming precision.
In squad modes, sniper positioning shifts toward support and coordination. A sniper’s primary job often becomes securing knocks that teammates can convert into pushes. Communication matters — calling enemy rotations, marking vehicles, and coordinating synchronized fire. Holding slightly elevated overwatch positions while teammates maneuver below creates layered pressure. However, separation must be controlled. Straying too far from squad support makes you vulnerable to coordinated enemy flanks. In squads, the best sniper positions are those that strengthen team structure rather than isolate individual glory.
Quick Positioning Principles to Remember
-
Always have a retreat plan before taking your first shot.
-
Avoid skyline silhouettes — stay slightly below peaks.
-
Reposition after every few shots to prevent triangulation.
-
Use edge circles to limit exposure angles.
-
Combine hard cover (rocks, walls) with soft cover (terrain dips, foliage).
Final Thoughts: Control the Terrain, Control the Outcome
Sniper positioning in PUBG is less about flashy 400-meter headshots and more about sustained spatial control. The strongest players treat terrain like a dynamic tool rather than a static backdrop. They anticipate rotations, manage visibility, and constantly adjust angles to stay unpredictable. In a battle royale environment where survival outweighs elimination count, positioning becomes the silent skill separating highlight reels from consistent wins.
Ultimately, mastering sniper positioning transforms you from a passive long-range shooter into a strategic zone controller. Every circle shift presents a new puzzle, and every ridge becomes an opportunity — or a trap. When you approach sniping with patience, adaptability, and terrain awareness, you don’t just take shots; you shape the battlefield.